The new Universal Centennial Logo which you might have already seen in the cinema this year. Great CG by Weta Digital:
Wednesday, September 12, 2012
Sunday, September 9, 2012
Making of a Planet - Part 4 - Simple atmosphere shader
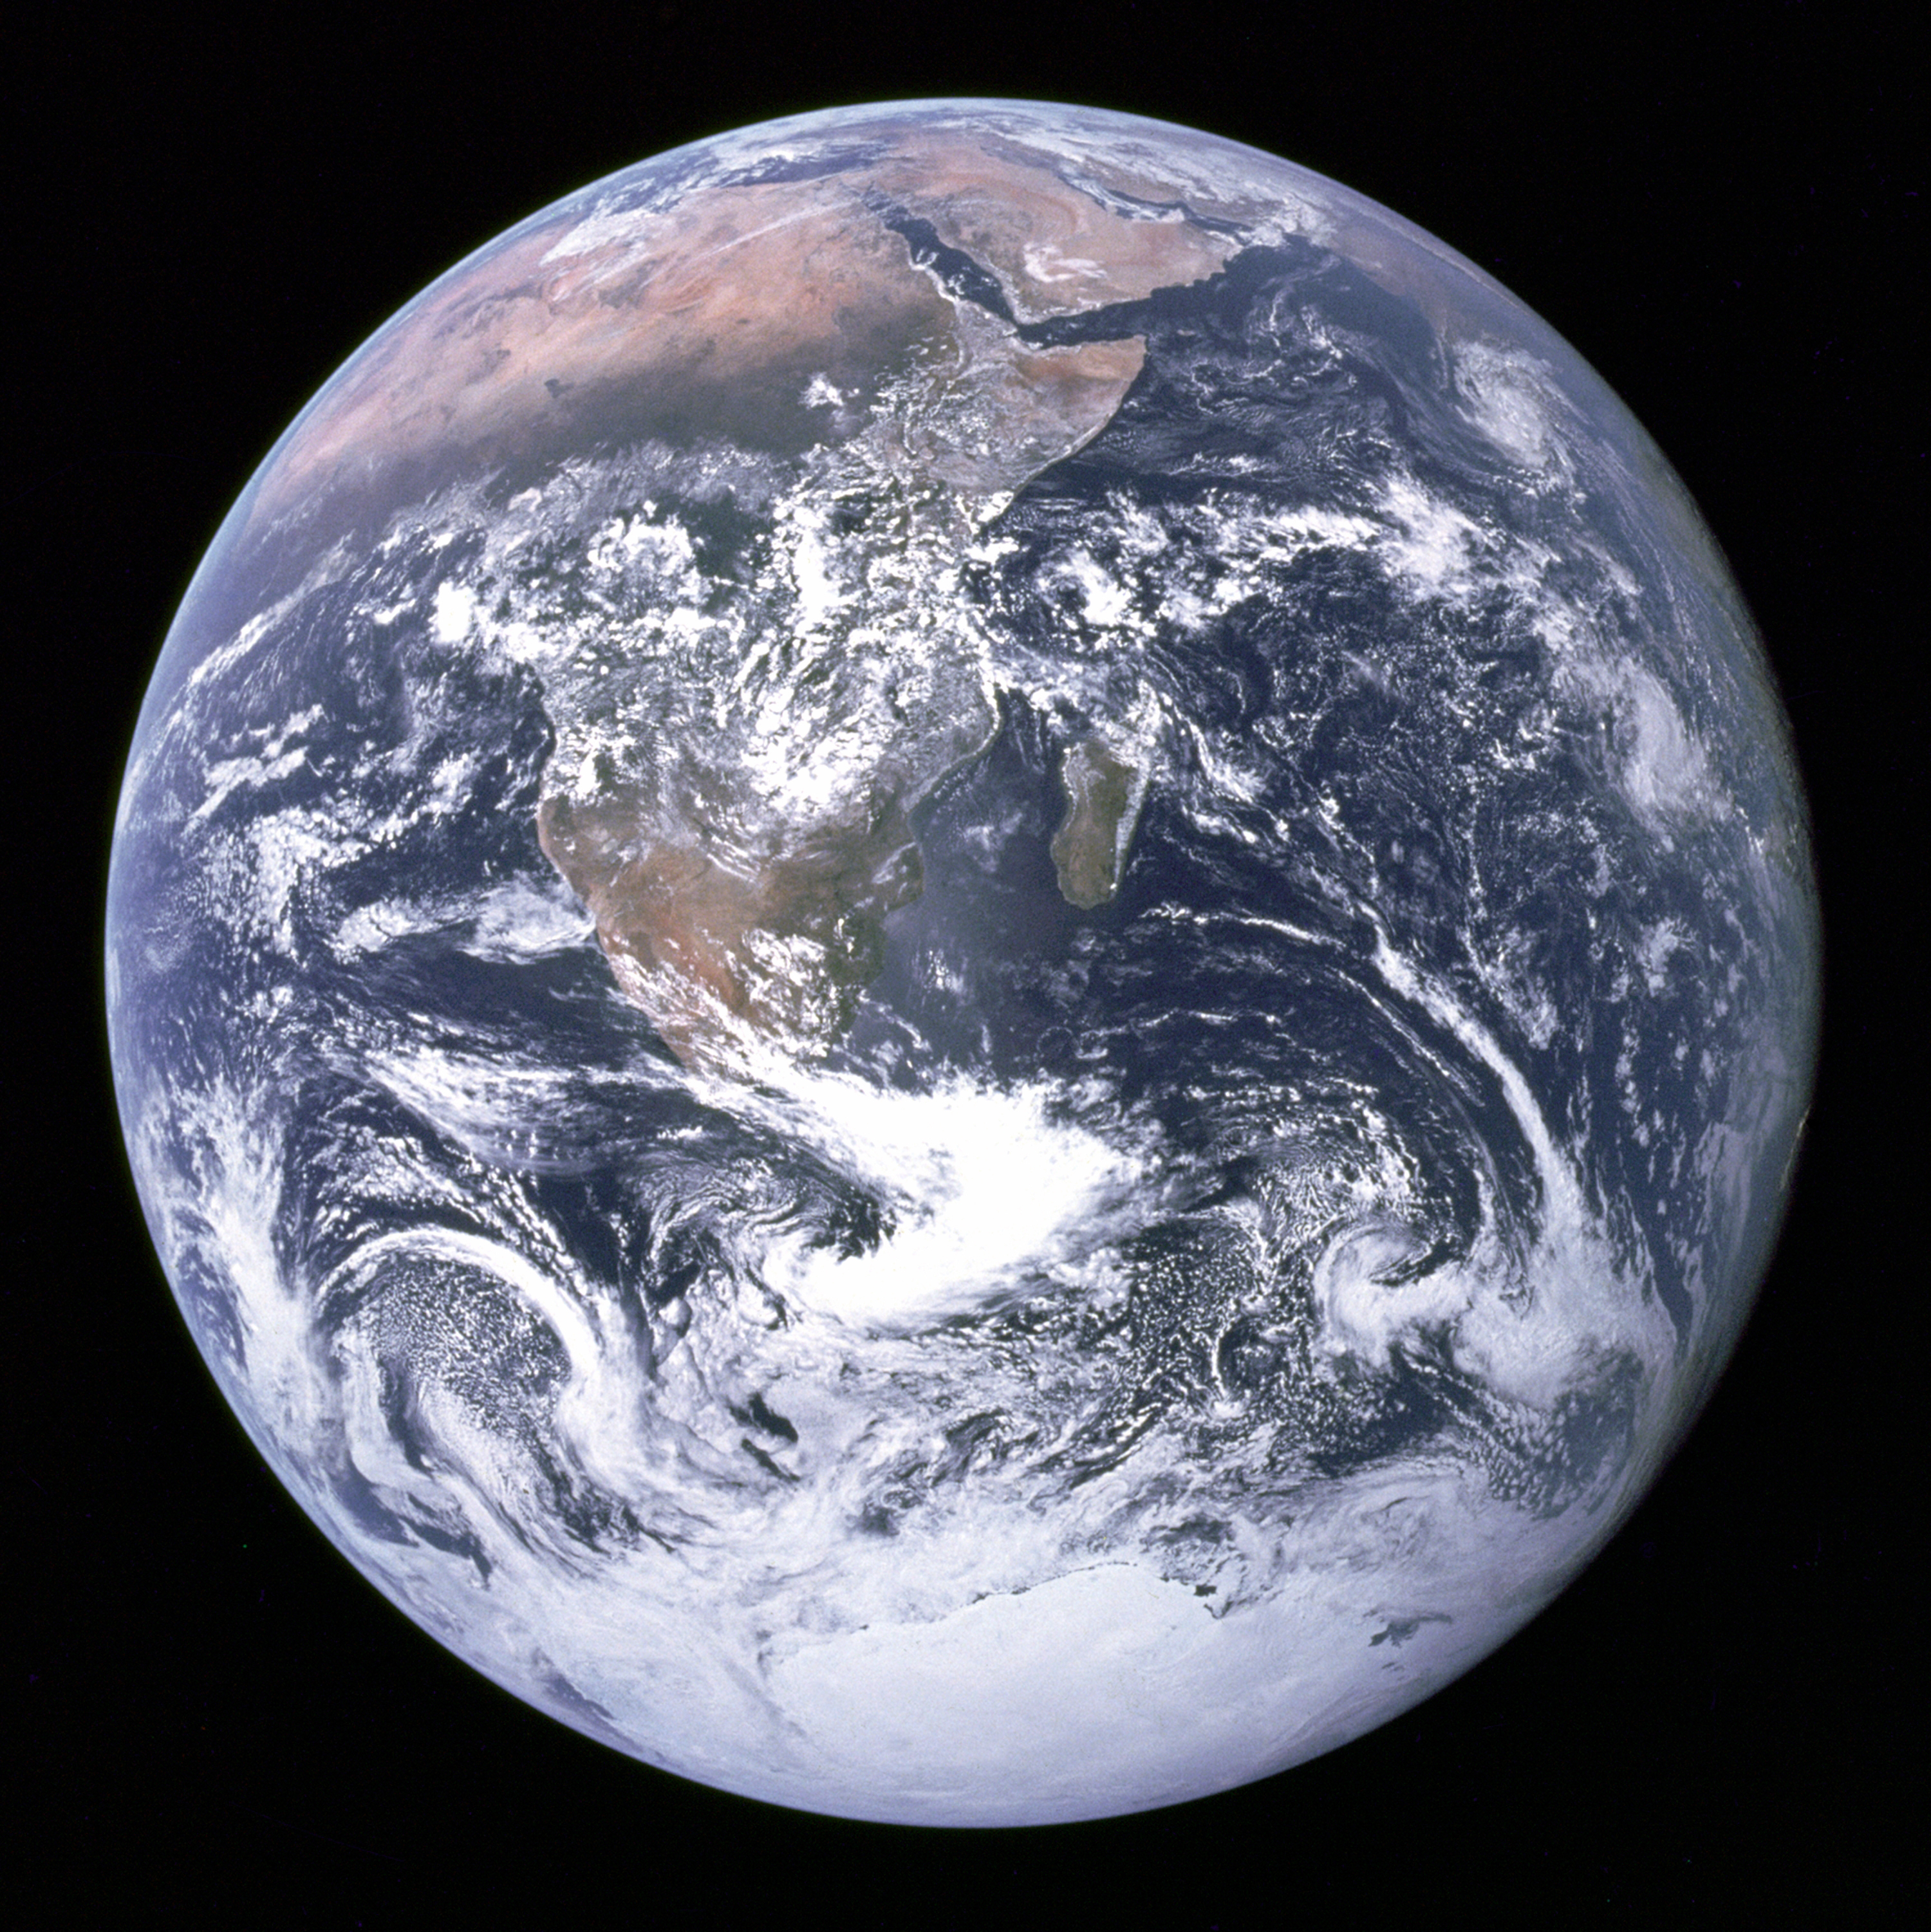
Here's a good place to start if you need some instant texture maps for creating a CG Earth: JHT's Planetary Pixel Emporium. The color, bump and specular maps are self-explanatory, although in my case I'm using true displacements instead of bump. You can also get the Blue Marble textures from NASA's Visible Earth here.
The tricky part is to create the Earth's atmosphere. From reference photos, we can see that due to the curvature of the planet, the atmosphere appears more visible along the circumference compared to the center.
To achieve this effect, we can make use of the facing ratio of the surface toward the camera. Referring to the diagram below, when the view vector and the surface normal is in line, the facing ratio is 1, when they are perpendicular, the facing ratio is 0. Surfaces that face away from the camera are not rendered, so need not be considered. As such, the facing ratio at any point always fall between 0 and 1:

There are different ways to obtain the facing ratio. Maya has a very useful Sampler Info utility node which will provide that information. In Houdini, it is simple to build using the Eye vector (I) and the surface Normal vector (N). Just do a dot product, which will give you the cosine of the angle between them as long as the vectors are normalized. When the angle is 0° (I aligned with N), the cosine is 1. When the angle is 90° (I perpendicular to N), the cosine is 0°. Remember to normalize both N and I, and also, since I is the direction from Eye (camera) to the surface, it has to be negated. Finally, an Absolute node is used to ensure that the output values are positive. The SHOP network is shown below:

The network above will shade any object as if there is a headlight attached to the camera (surfaces facing the camera are brighter and surfaces facing away are darker). From there, we will adjust the output into a suitable type and range using a bit of math. The diagram below illustrates what we are trying to achieve:

The following SHOP network does exactly the above:

The Complement node inverts the black and white facing ratio, and the Power node (exponent of 6 used in this example) adjusts the intensity. A Constant of type "color" set to a suitable shade of blue is multiplied with the output of the Power node to get the blue tinted version, which is then output as the Surface Color. The output from the Power node is fed into the Surface Opacity output to allow for transparency.
Let's apply this shader to a new sphere object slightly larger (1% larger in this example, using a uniform scale factor of 1.01) than the original Earth sphere :

Of course, this is just a starting point. There is immediately the problem of the atmosphere being lit even along the shadowed side of the Earth. This is easily remedied by multiplying the output color by a shadow term, or by a self-shadowing diffuse shader such as Lambert:
 |
| The example below uses a Lambert diffuse intensity of 2 |

While this is more physically correct, the previous unshadowed version looks aesthetically more pleasing, which is why many planetary artists invoke artistic license to bend the laws of physics. Alas, our goal is photorealism, so we will stick with the correct look for this kind of exposure levels. Just remember it is a viable option because the stars (and sometimes the Moon) always provide faint illumination to the night side of the Earth.
Long way to go...
There's still so much that needs to be done to improve the quality of my CG Earth, and I've been exploring options and learning that I really don't have enough know-how to get there yet.
Clouds are the biggest challenge and I've never been happy with my solution, so I'm going back to the drawing board with them. It's a tough nut to crack so it might be a while before I can achieve a proper cloud-filled Earth.
Next, surface detail. Considering I'm using at best 500m/pixel data from BMNG, I began experimenting with adding fractal noise to the displacement and other channels in the hopes of being able to do more close-up shots.
Since I'm starting with a displacement map, just adding displacement noise without regard for the existing topography will result in very artificial output - the same way that simply combining multiple orders of fBm noise will not make a fractal landscape look natural. I'm convinced I need some kind erosion algorithm (fractal, hydraulic, thermal...) but I haven't been able to find any good reference on the subject.
Sometimes when I look up one subject, I find that I need to understand several other topics before I can proceed. Other times, one subject leads to several other related issues that I had not been aware of. There's so much to study, understand and implement that I have to become less of an artist and more a weekend programmer, mathematician and scientist. Gradually, I hope to summarize what I've learnt that is relevant to the CG Earth project within the pages of this blog.
Meanwhile, here's another WIP shot. It has subtly better atmosphere and surface detail than a similar shot I created last year.
 |
| 2012 version with better terrain detail, specular (rivers) and atmospherics (no more volumetric hack). |
 |
| 2011 version, took some hacking to get it looking like this. |
Subscribe to:
Posts (Atom)