Topics

Showing posts with label WIPshots. Show all posts

Sunday, September 9, 2012

Long way to go...

There's still so much that needs to be done to improve the quality of my CG Earth, and I've been exploring options and learning that I really don't have enough know-how to get there yet.

Clouds are the biggest challenge and I've never been happy with my solution, so I'm going back to the drawing board with them. It's a tough nut to crack so it might be a while before I can achieve a proper cloud-filled Earth.

Next, surface detail. Considering I'm using at best 500m/pixel data from BMNG, I began experimenting with adding fractal noise to the displacement and other channels in the hopes of being able to do more close-up shots.

Since I'm starting with a displacement map, just adding displacement noise without regard for the existing topography will result in very artificial output - the same way that simply combining multiple orders of fBm noise will not make a fractal landscape look natural. I'm convinced I need some kind erosion algorithm (fractal, hydraulic, thermal...) but I haven't been able to find any good reference on the subject.

Sometimes when I look up one subject, I find that I need to understand several other topics before I can proceed. Other times, one subject leads to several other related issues that I had not been aware of. There's so much to study, understand and implement that I have to become less of an artist and more a weekend programmer, mathematician and scientist. Gradually, I hope to summarize what I've learnt that is relevant to the CG Earth project within the pages of this blog.

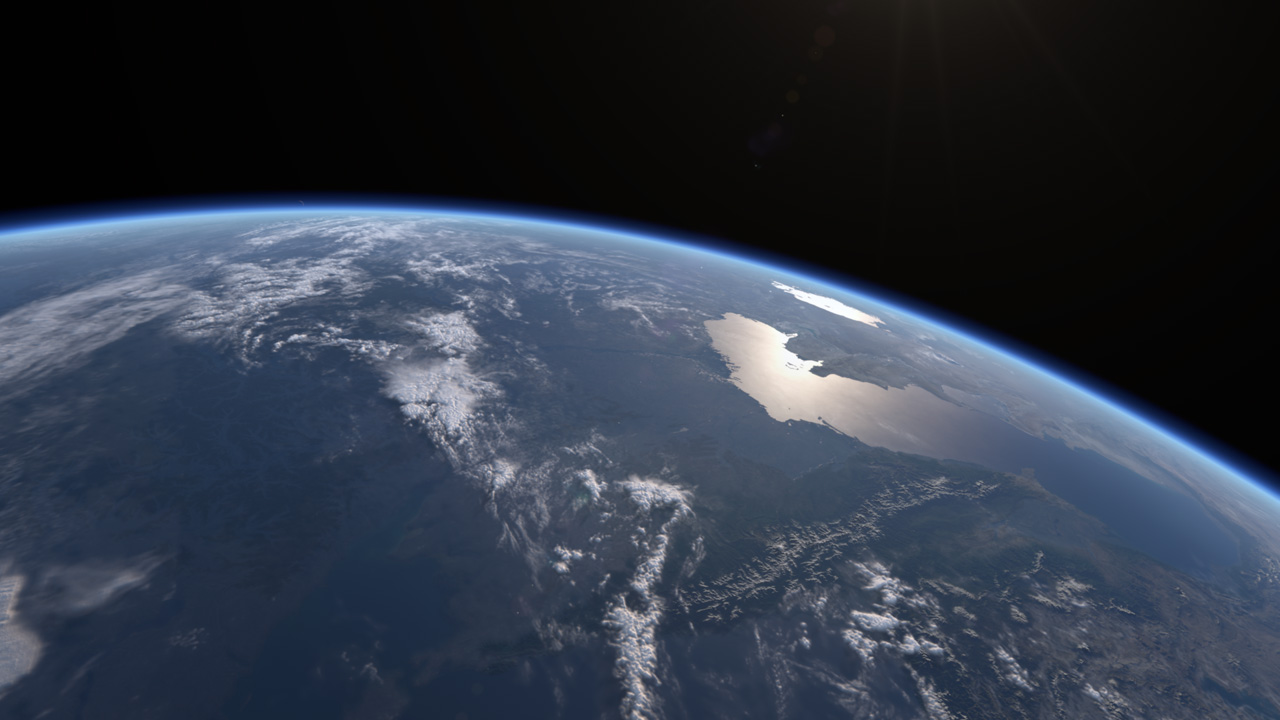
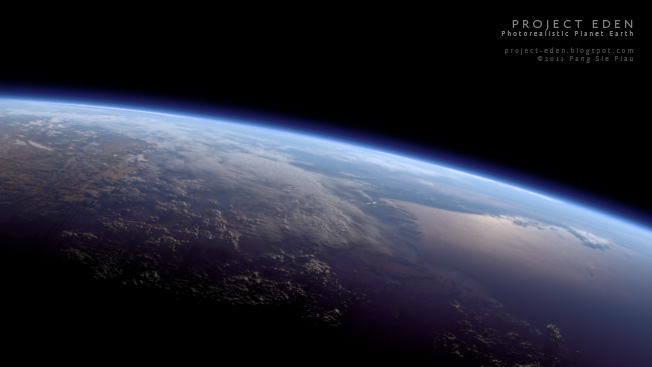
Meanwhile, here's another WIP shot. It has subtly better atmosphere and surface detail than a similar shot I created last year.

2012 version with better terrain detail, specular (rivers) and atmospherics (no more volumetric hack).
2011 version, took some hacking to get it looking like this.

Monday, July 2, 2012

Enjoy a few more rendered images before the next installment of "making-of" ^^;


Thursday, June 21, 2012

Making of a Planet - Part 2

In this post, I'll be describing in more detail how the CG Earth is constructed.

The whole planet was broken down into several key components: land, water, clouds, atmosphere and an atmospheric "rim". The atmosphere has two components because it's not a true volumetric simulation, but a kind of hack ^^;


Land 

Nothing fancy here that's not been done for decades. A simple sphere primitive with polar (spherical) UV projection so that the Blue Marble textures can be wrapped around it. Of course, it's well known that the Earth is not a perfect sphere, but an oblate spheroid. This is approximated using an Equatorial radius of 6378.14km and Polar radius of 6356.75km

An early "making-of" montage showing the key components of the Earth setup

A displacement shader is used with elevation data to create the mountains and terrain above ground, and bathymetry data is used to create the ocean floor below sea level.

Water

This is just another sphere primitive with an ocean shader applied. Water reflects the sun with a much stronger specular glint than the land or clouds. In the final version, however, I ditched both the bathymetry and water components and instead included the ocean shader into the single land shader for the entire planet. This was done to optimize rendering since the sea is really not that transparent from space, therefore calculating displacement for the sea floor is a waste of render time.

Clouds

After much experimentation with various volumetric hacks, I eventually settled upon the same age old technique everyone else is using - a sphere (surprise, surprise) mapped with transparency data from NASA's cloud texture, with the same cloud map doubling as a displacement map to give the clouds actual thickness. On top of this, I added procedural noise for detail, since the cloud map is of noticeably lower resolution than the land texture. To be honest, I feel that I have failed in the implementation of this component most miserably, so future versions will likely be done differently.

Displacement mapping to give the clouds thickness; procedural noise to add detail

Atmosphere and Rim

Another key component that makes or breaks the look of a CG planet is the atmosphere. The atmosphere of the Earth interacts with sunlight to produce a multitude of lighting effects and localized color shifts. Indeed, it is reason why the sky is blue and why the Sun appears yellowish when viewed from the ground. 


No atmosphere
With atmosphere

The volumetric effect is created using a set of concentric sphere of increasing size and decreasing opacity. The Rayleigh scattering effects is creating using ramp lookup based on a modified Lambert angle. As the shading approaches the terminator, the light color turns reddish.


The other component is the atmospheric rim, which uses another ramp lookup to create the blue "outline" around the limb of the Earth.


I must confess the most of the effects are hacked - they are "physically informed", but not physically based. At this point in time I'm still researching true volumetric solutions for the clouds and true scattering for the atmosphere.

The sane Rayleigh ramp lookup is used to color the cloud layer. A crude but effective technique ^^;;

Size Matters

As mentioned previously, all modeling was done to relative scale as much as possible in the spirit of "realism". Initially I used a unit of 1km but the comparatively small details of Earth and the astronomical scale of the solar orbit appear to cause precision problems when rendering shadows. No amount of tweaking the raytracing bias worked. In the end, through trial and error I found that using a base unit of 10km seem to minimize the glitches. So, for example, instead of 6378.14 for the Equatorial radius, I used 637.814

In the next post, I'll talk about the various shaders.

Saturday, June 16, 2012

Making of a Planet (version 0.2b) - Part 1

As promised, I shall attempt to summarize the techniques I used to create the CG Earth from the previous post. This version represents another milestone in my efforts to create a decent photorealistic Earth using computer graphics.

Before I begin, it seems more and more people are interested in Earth observation. One emerging hobby is for people to build and launch home-made high altitude balloons containing low-cost GPS systems and digital cameras up into the stratosphere to capture videos and photos of the Earth from "space". These balloon capture amazing imagery of the Earth from altitudes upwards of 30km, but is still well within the Kármán line (altitude of 100km) commonly considered the boundary between Earth's atmosphere and outer space. For comparison, the International Space Station (ISS) orbits between 278-460km above ground. Still, the balloon footage are a great source of additional reference material ^_^

Scene Setup

Okay, back to the production report. In this first post I will outline the features I have built into my scene setup and the type of options they offer for creating Earth renders.

Houdini scene
Looking at the scene network above, you can see that I have not only created the Earth, but also the Moon, Sun and the ISS. I've been careful to scale all the objects as well as their orbits to relatively accurate proportions using data from the internet. In reality, all orbits should be elliptical, but circular orbits are easier to setup for now. However, I did apply correct inclination and axial tilt parameters for both the Earth and Moon.

The Sun is 1,380,000 km across in diameter (about 110 times that of Earth), and 149,600,000km from Earth. It takes light 8.32 minutes to reach Earth from the Sun! The Earth is way much smaller than 1 pixel at this scale ^^;;

The Moon looks tiny bacause it is 384400 km away from Earth. It takes light 1.3 seconds to reach Earth from the Moon! We can make the Moon appear bigger in shot by increasing the focal length

The setup is basic CG101: just use null objects and correct parenting. So, the Earth rotates about it's axis, the ISS and Moon rotates around the Earth, and the Earth-Moon system rotates about the Sun. The animation controls are set up for properly relative orbital periods - i.e. Earth rotates on it's own axis once a day, ISS makes one revolution round the Earth in 90 minutes, Moon revolves round the Earth every 27.3 days, Earth goes round the Sun in 365.25 days. Of course, time can be allowed to speed up, slow down or stop in the CG world. Offset controls allow independent control over exactly where to position the objects in orbit to allow fine tuning for shot composition.


Cameras and Animation Controls

All this trouble to be "realistic" actually makes setting up cameras and shot composition even more difficult. So I took a more sensible approach by setting up orbital cameras around the Earth (attached to the ISS) and Moon, with controls to adjust their location and orientation. Again, it's all null objects and parenting, with expressions to drive rotation channels to simulate orbit.

Although properly set up, I ended up using this only for reference and using Maya to render the ISS because it was too much work to surface the model properly in Houdini. It was tedious in Maya too, but the workflow is much less painful.

Centering the Earth Cam on any location is as easy as entering their latitude and longitude. Here's London at 51.5171° N, 0.1062° W
View from the Moon ^^

In the next post, I'll describe how the Earth is constructed. Until then... ^^/

Friday, June 8, 2012

The story so far...

A video compilation of my work-in-progress is now on Vimeo. I will follow up with a "making of" post in this blog, hopefully in the near future. Comments and critique are most welcome. Any pointers on how I can improve the look will be much appreciated ^_^;

Monday, May 7, 2012

Correcting colors


It's been almost a year since I rebooted this project (switching to Houdini and learning how to write VEX shaders), during which I have spent countless hours making minute tweaks to various shader properties in an attempt to get the right look and feel.

Alas, I feel I have pushed the shaders far enough. I've decided that it's time to apply color correction and adding effects in post to bring the final look home. At times it seem the changes I keep making are too miniscule to be even noticeable, but then again, I find it hard to put things down as long as something doesn't look right. The problem is - something always look out of place :(

Anyway, I constantly remind myself that this project is a learning process, and ultimately worth the effort at least from the educational angle ^^;;


Thursday, April 12, 2012

Good Morning Eden!

After weeks of re-working the VEX shaders, I am finally back on track. Here are a sequence of WIP shots (dated 27 Mar) highlighting one of my initial goals of the project - to recreate a sunrise from space sequence:


At first glance, the shots look similar compare to my early versions (created using Maya and After Effects compositing trickery in 2010), but believe me there is a world of difference, especially when things start moving. If you scrub through the sequence, you can see a hint of atmospheric scattering at work as the sunlight penetrates the atmosphere.

Naturally, I will have to add in the Sun with accompanying flares and effects during post-production in the eventual final version.

Sunday, March 25, 2012

Seas and skies

In the last post I mentioned how my shaders crashed under the new version of Houdini. I'm glad to report that I have re-worked them to work with H12, and in the process deepened my understanding of VEX shader networks. I've also managed to remove the rendering artifacts and shader errors, mainly by not assuming that unconnected inputs will have the correct default values applied. Subsequently, I have also refined various aspects and added new features to my Earth shaders.

The two most significant additions are the simulation of forward scattering in the atmosphere and anisotropy in the specular highlight of the ocean, as seen in the following work-in-progress snapshots:

The atmosphere scatters more light as the Sun gets behind it, an effect attributed to Mie scattering of light by particles in the air

The specular reflection of the Sun is stronger at more glancing angles, a behavior called the Fresnel effect. The shape of the highlight also elongates as the Sun nears the horizon, mimicking how the Sun reflected in the ocean looks during sunsets

Tuesday, March 6, 2012

Progress update

Just last week, Side Effects Software launched Houdini 12 and it's full of cool bells and whistles. I downloaded the Apprentice version and did a quick test with my Earth scene, expecting rendering speed improvements but my shaders just keep crashing the Mantra renderer. More on that in a later post...

Meanwhile, here are the latest updates with NASA photos for comparison. All are Houdini 11 renders with only exposure and gamma adjustments, mild sharpening and no color correction, down sampled to 8-bit JPG from 32-bit EXR renders.

For the more observant, those tiny white dots are a strange rendering artifact which I have yet to figure out how to remove :(
This is a closeup of the above shot. It may not be obvious, but the land, clouds and atmosphere are lit with sunset colors near the terminator
NASA photo

Still in the process of balancing colors, but I'm reaching a point where setting the right exposure alone allows me to match different reference photos without the need for much color correction
NASA photo (Apollo 11)

 
NASA photo (Apollo 11)
  
I drastically reduced the amount of cloud coverage. Remember all my data is based on NASA's BMNG 2005 release, and they have tons of clouds everywhere. I need new data and a new way of implementing atmosphere and clouds ^^;;
NASA photo

 Let's check the baseline I set in September 2011:

1. Accurate proportions - approximated using equatorial and polar radii
2. Axial tilt - this is a no brainer ^^;
3. Terminator reddening - faked
4. Atmospheric scattering - faked
5. Volumetric clouds - faked
6. Displacement mapped topography - done

In addition I've also implemented:

1. Location sensitive direct sunlight and ambient lighting colors (sunset lighting at the terminator)
2. Faked atmospheric refraction of sunlight causing the terminator line to shift back a few degrees
3. Atmosphere with altitude-based density falloff (non-physically based)
4. Specularity for inland rivers and lakes
5. City lights for night exposures

I'm happy with my progress considering I have no shader writing skills and very little Houdini experience prior to taking up this project. Still, it's a long way to go before the closeups can look convincing.

Thursday, December 29, 2011

Head in the clouds

The traditional way to create clouds for a CG Earth is create a spherical shell slightly larger than the Earth itself, then mapping a cloud texture onto the transparency channel. As you an imagine, this technique works well for long shots in which the whole Earth is visible, but not so good for close ups and oblique camera angles:
Plain clouds texture mapped onto a flat, transparent layer
As always, adding a little procedural noise to a texture pattern can enhance the detail and quality of an image based texture:
Same flat cloud layer with noise patterns added
The final step would be to add displacement so that the clouds do not appear like a completely flat layer:

Add a little displacement into the mix to make things look more natural

This technique will hold for medium to long shot, but will completely fall apart if the camera gets too close.  Here are some more shots to test how far this technique can be pushed:


Saturday, December 10, 2011

Glint in your eye

Viewed from space, the Earth generally does not appear very shiny, since most of the natural surfaces have low albedo and reflectance, with the exception of water. The ocean-covered parts of the Earth glint from fairly weakly to very strongly depending on various factors. However, even though 70% of the Earth's surface is covered with water. clouds also cover about 70% of the total land and water area. So the only time specular highlights are visible is when they peer through a cloudless sky, with still water (such as ponds and lakes) acting like polished mirrors giving off the strongest specular sun glints.

To recreate specular highlights on a CG Earth, a specular control map is needed. In addition, some noise should be added to simulate the ocean waves which breaks up the specular highlight into a glossy appearance from far.

The following are work-in-progress shots dated 27 Sept 2011:

The use of a specular map allows the rivers to glint in the Sun
Water is the most intensely specularly reflective material occuring naturally
The specular highlights for rivers and lakes are built into the land surface shader using a VEX network. As such, these bodies of water need to be depicted and aligned in the color, specular and displacement maps
Turbulent noise nodes are used to build the specularity of the ocean surface shader in a VEX network. A land/water mask is used to inform the shader where the ocean noise is needed

Saturday, November 26, 2011

Terminator Too

While still on the topic of the Earth's terminator, let's talk about another of its distinct feature - the red color due to atmospheric Rayleigh scattering. From the surface, we experience the reddening as sunrise and sunsets. Here's a reference photo of the Earth's terminator taken from the ISS on 12 Apr 2011:

Sunset over Western South America (source: NASA)
Clearly a photorealistic CG Earth would need to replicate this feature. The following are test images dated 11-16 Oct 2011:

A tell-tale sign that an Earth image is CG - no reddening at the terminator line

Sunset colors at the terminator line, but still poorly implemented and highly unconvincing ^^;;
A higher resolution, tone-mapped work-in-progress shot of the terminator reddening

Friday, November 25, 2011

Gamma Terminated

Let's talk about terminators and gamma. No, not the human-killing robots from the future, but the line dividing light and shadow on a lit object. And not the gamma radiation that turned a scientist into an angry green giant, but the non-linear behavior of our eyes and optical devices to light intensity. Finally, we'll take a look at how the Earth's terminator is unique from, say, the Moon's terminator.

This article from GPU Gems 3 explains gamma correction and the importance of linearity when creating rendered images. Basically, our eyes, cameras and display devices all do not respond to light in a linear fashion. Our eyes are more sensitive in low-light conditions and can see more variations in intensity than in very bright environments. Similarly, the brightness output of a display device does not respond in a linear fashion to the voltage input, being dimmer at the lower intensity ranges than the correct output should be. Because every device has a different gamma response, the same input image may appear very different on different display devices.

Hence, gamma correction has been introduced to ensure that what we see on our typical display (e.g. LCD monitor) looks visually correct compared to what we would see using our naked eye. This blog article from Beautiful Pixels (where the following image originates) offers a good example of what a gamma corrected render should look like:

From left: uncorrected CG sphere, photo of half Moon, gamma corrected CG sphere
For a solid diffuse surface, the natural appearance would be to have a clearly delineated terminator where the transition from light to dark is well defined.

Viewed from space, the Earth's terminator should also be well defined, as confirmed by photos of the Earth taken from spacecrafts and Apollo astronauts. So then, what's so special about the Earth's terminator?

When light is shone onto a sphere, the terminator line would divide the sphere into exactly two halves - half in the light and the other half in darkness. However, in the case of the Earth, the sunlit portion is actually greater than the night portion. This can be observed as during the equinoxes, there are more than 12 hours of daylight in a 24 hour day. How is that so?

The answer is the Earth's atmosphere. It actually bends light by about half a degree (60km) into the area of the Earth that would otherwise be dark. Also, the atmosphere scatters light across the sky so the ground would not be in total darkness even after the Sun has set.

You can check out which parts of the Earth is currently in day and night here. After looking at the pretty picture, do read the notes for some very good explanations. You can map the picture onto a 3D sphere and confirm for yourself that the terminator line slightly over the halfway mark.

The following is my attempt to capture this effect by modifying the illumination equation in shaders (image dated 7 Oct 2011):